Punch Needle Supplies for Beginners: Everything You Need to Get Started
Hi! I’m Sibel from The Poko Design, and today we’re talking supplies. 🛒
One of the best things about punch needle is how little you actually need to start. No expensive equipment, no intimidating setup — just a handful of simple tools and you’re ready to make something beautiful.
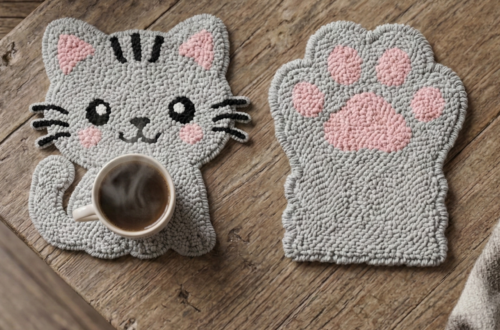
Here’s everything a beginner needs for their first punch needle project (like a coaster!).
YOUR BEGINNER PUNCH NEEDLE SUPPLIES LIST
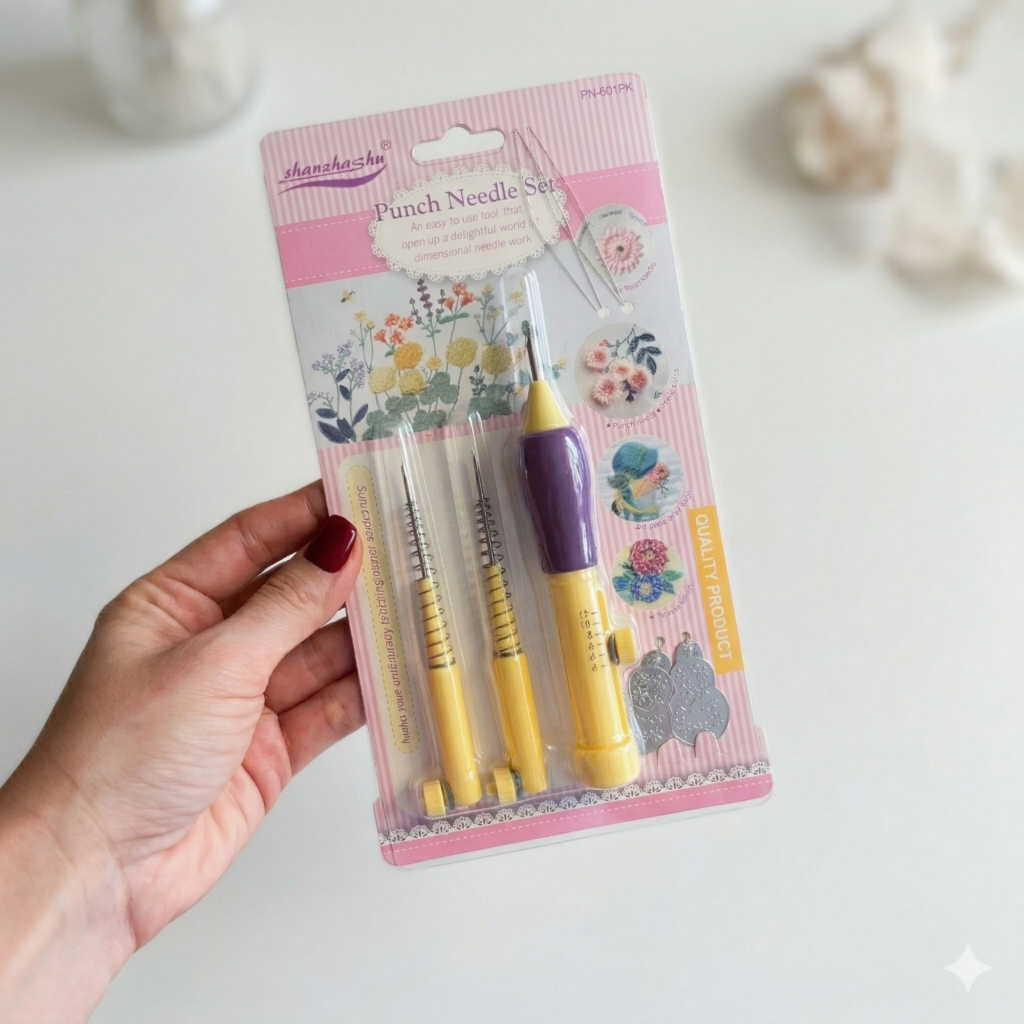
1. PUNCH NEEDLE TOOL
This is your main tool — and it’s simpler than it looks! For beginners, a size 10 medium punch needle works beautifully with worsted weight yarn. Look for one that feels comfortable in your hand, like a pencil grip. Many starter kits include a threading tool too, which is super helpful at first.
Beginner tip: Don’t overthink this one. Any basic punch needle tool labeled “beginner” or “medium” will work just fine for your first project.
If you want a reliable tool that won’t frustrate you, you can grab my favorite Adjustable Beginner Punch Needle Set directly from my shop. It’s the exact one I use for my coaster projects!
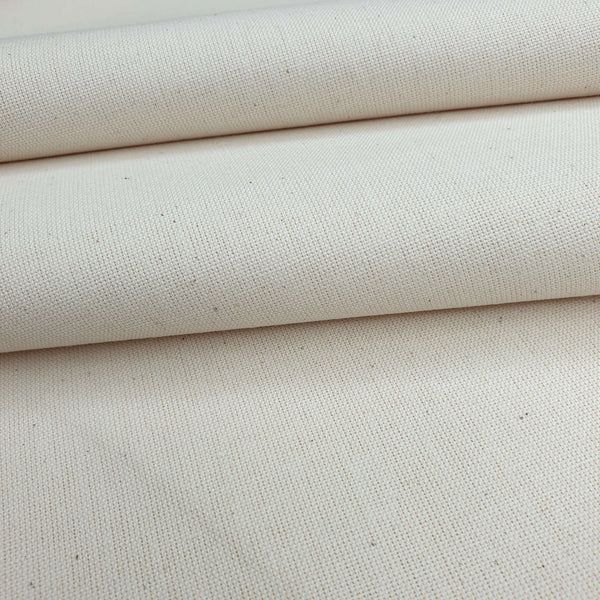
2. MONK’S CLOTH OR WEAVERS CLOTH
This is the fabric you punch through. Monk’s cloth is the most popular choice for beginners — it has an open, even weave that the needle glides through easily. For a coaster-sized project, a piece of about 20×20 cm (8×8 inches) is more than enough.
Beginner tip: Avoid regular fabric or canvas to start. The weave needs to be open enough for the needle to pass through smoothly.
Finding the right fabric can be tricky for beginners, so I make sure to stock the highest quality Pre-Cut Monk’s Cloth for Beginners in my shop. It’s ready to use and saves you the hassle of cutting it yourself!
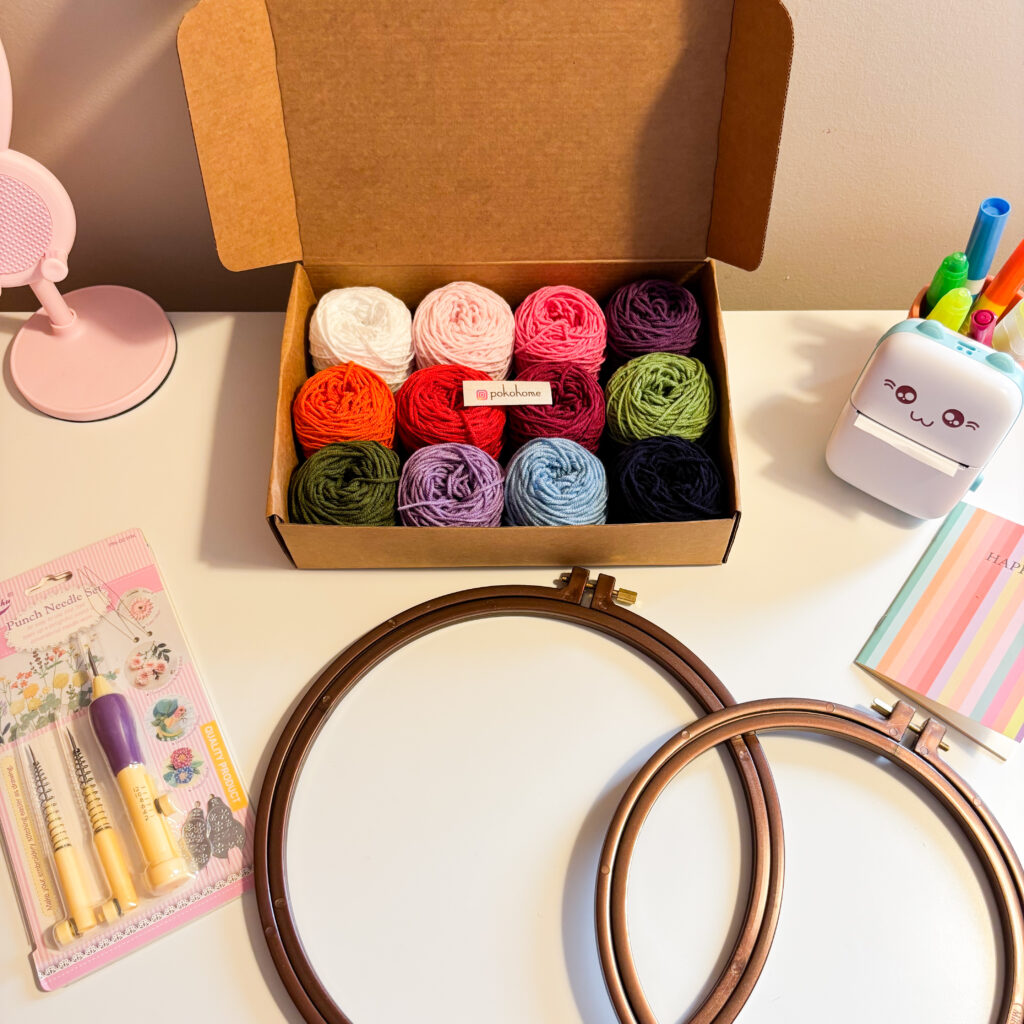
3. YARN
Here’s where the fun begins! For a beginner coaster project, you’ll need worsted weight yarn in 2–3 colors. Pick colors that make you happy — punch needle is all about bold, joyful color combinations.
You don’t need expensive yarn. Acrylic worsted weight from your local craft store works perfectly. As you get more comfortable, you can experiment with cotton, wool, or velvet yarns.
Beginner tip: Buy small amounts (one skein per color) to start. A little yarn goes a long way in punch needle!
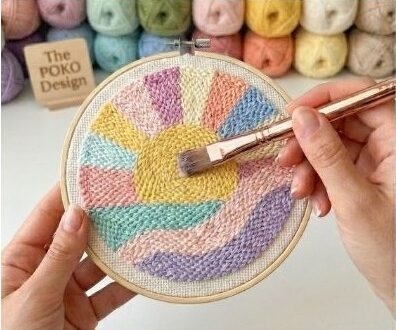
4. EMBROIDERY HOOP
A 15–18 cm (6–7 inch) embroidery hoop keeps your fabric nice and taut while you work. Taut fabric = neat, even loops. Loose fabric = frustration. So this one really matters!
Wooden or plastic hoops both work fine. You can find them at any craft store for just a few dollars.
Beginner tip: Tighten your hoop as you go. Fabric loosens up naturally as you punch — re-tighten every 10–15 minutes.
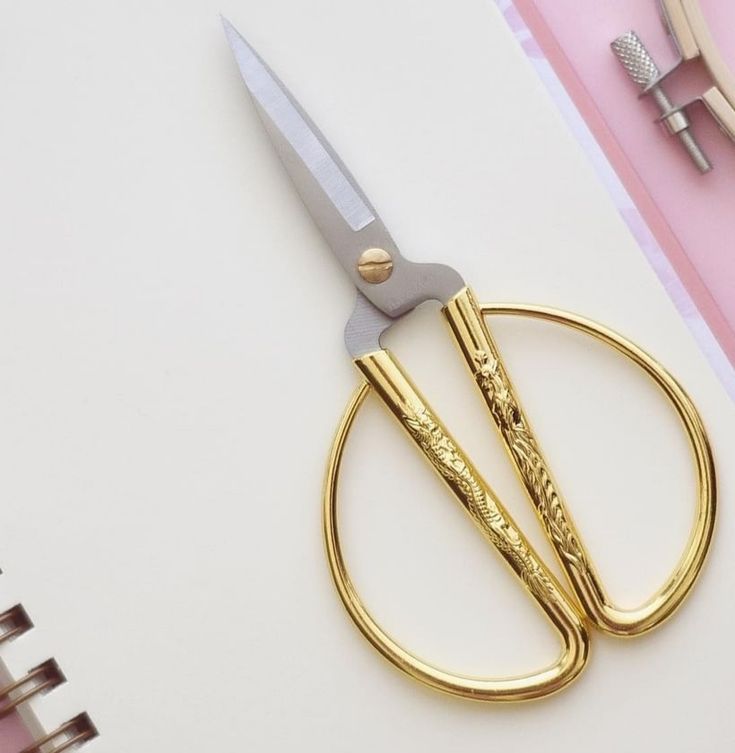
5. SMALL SHARP SCISSORS
You’ll be snipping yarn ends between color changes and trimming the finished back of your work. A small pair of embroidery scissors (the cute stork kind!) works perfectly. Sharp is the key word here — dull scissors will fray your yarn.
6. FABRIC MARKER OR WATER-SOLUBLE PEN
You’ll use this to trace your pattern onto your monk’s cloth before you start. A water-soluble pen is great because the marks disappear with a little water once you’re done — no permanent lines showing through!
7. NON-SLIP RUG BACKING OR FABRIC GLUE (FOR FINISHING)
Once your coaster is punched, you’ll want to secure the loops on the back so they don’t pull out. A small amount of fabric glue painted on the back does the trick. You can also cut a piece of non-slip rug backing to glue on — this gives your coaster a clean, professional finish and keeps it from sliding on your table.
8. YOUR PATTERN
Last but not least — you need a design to punch! If you’re just starting out, grab my free beginner coaster pattern. You can get free pattern from there. It’s designed specifically for first-timers with clean, easy-to-follow lines.
Or, browse my full pattern collection in my Etsy shop — The Poko Design — for more colorful, beginner-friendly options. Each pattern comes with a clear color guide and instructions.
QUICK SHOPPING SUMMARY
Here’s everything at a glance:
— Punch needle tool (size 10 / medium)
— Monk’s cloth or weavers cloth (20×20 cm)
— Worsted weight yarn in 2–3 colors
— Embroidery hoop (15–18 cm)
— Small sharp scissors
— Fabric marker or water-soluble pen
— Fabric glue or non-slip rug backing
— A beginner pattern (grab mine free!)
You’re one shopping trip away from your first punch needle project. I promise it’s worth it — the moment those fluffy loops appear on the front of your work, you’ll be completely hooked. 🧡


You May Also Like
How to Make a Punch Needle Coaster: Step-by-Step for Beginners
You’re Done Stitching — Now What? 🎉 Finishing Your Punch Needle Project
