You’re Done Stitching — Now What? 🎉 Finishing Your Punch Needle Project
So you’ve punched your last loop and your design is finally complete. Amazing feeling, right? 🥹 But before you frame it or gift it, there are a few important finishing steps that will make your piece look polished and last for years. Don’t skip these — they make all the difference!
Honestly, I used to dread this part. I’d spend hours on a pattern I loved, only to stare at the back, confused about how to finish it without ruining the mess. If that’s you right now, don’t worry! I’ve tried every glue, felt, and whip-stitch method, and I’m sharing what actually works.
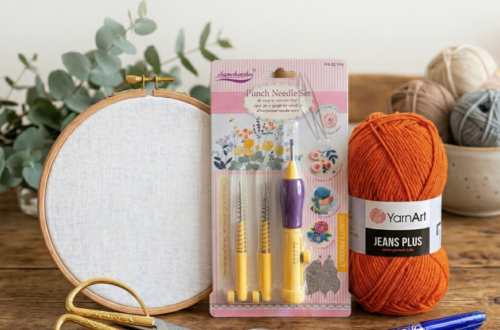
🛠 What You’ll Need for Finishing
- Fabric Glue: A flexible craft adhesive.
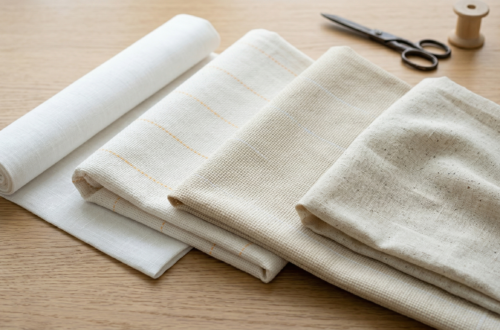
- Sharp Fabric Scissors: Essential for clean, precise cuts.
- Hot Glue Gun: For sealing the edges quickly and securely.
- Felt Sheet: In a color that matches or complements your design.
- Small Brush or Spatula: To spread the fabric glue evenly.
- A Heavy Book: (Optional) To press your project while the fabric glue dries!
🧴 Step 1: Apply Fabric Glue to the Back
Once you’re happy with your design, flip your work over and apply a fabric glue or craft adhesive (like Aleene’s or a similar flexible glue) across the entire back surface. This locks your loops in place so they don’t pull out over time. 🙌
Spread it evenly with your fingers or a brush, making sure every loop is covered. Don’t be shy with it — a thin coat might not hold! Let it dry completely before moving on. This usually takes 30–60 minutes depending on the glue you use.
Pro Tip: “Don’t use a glue that dries rock-hard. Choose a flexible fabric glue (like Aleene’s) so your piece stays soft and sits flat on surfaces. If the glue is too stiff, your coaster might wobble!”
✂️ Step 2: Trim the Fabric Edges
Once the glue is dry, remove your work from the frame and trim the excess monk’s cloth around your design. Cut small snips around the edges — don’t try to cut it all in one straight line! Little cuts give you way more control and help the fabric fold neatly without bunching. 👌
Leave about 1–1.5 cm of fabric around the edge of your design. You’ll need this to fold over in the next step!
Pro Tip: “When cutting around curves, make tiny ‘V’ shaped snips in the fabric. This prevents the cloth from bunching up when you fold it back, giving you a much smoother edge.
🔫 Step 3: Seal the Edges with a Hot Glue Gun
This is the step that really tidies everything up — and it’s so satisfying! ✨ Fold those trimmed fabric edges toward the back and seal them down with a hot glue gun or silicone glue. Work slowly, section by section, pressing each fold firmly until it sets.
This keeps the edges from fraying and gives your piece a clean, finished look from behind. No more messy edges! 🙅♀️
Pro Tip: “Use the side of your hot glue gun nozzle to press down and flatten the glue as you go. This ensures the edges aren’t bulky or lumpy under the felt.”
🟩 Step 4: Cover the Back with Felt
Cut a piece of felt roughly the same size as your finished piece and glue it over the entire back. This covers all the messy bits, protects your loops, and gives your project a beautiful, professional finish. 💅
Choose a felt color that matches or complements your design — it’s a small touch but it really matters!
Pro Tip: “Cut your felt about 2mm smaller than the actual size of your project. This ensures the felt stays hidden and doesn’t ‘peek out’ from the front of your beautiful design.
And that’s it! 🎊 Your punch needle piece is officially finished and ready to display, gift, or show off on Instagram. You did amazing — now go make another one! 🧵
✨ Looking for patterns for your next project? Browse my collection of beginner-friendly and start your next creative escape today!


You May Also Like

🧶 DIY Punch Needle Keychain: The Ultimate Step-by-Step Guide
Punch Needle Supplies for Beginners: Everything You Need to Get Started