How to Make a Punch Needle Coaster: Step-by-Step for Beginners
Hi, I’m Sibel from The Poko Design! 👋
You’ve got your supplies, you’ve got your pattern—now comes the best part: actually creating something with your own two hands. I remember the first time I picked up a punch needle 5 years ago; I was so nervous about “ruining” the fabric, but I quickly learned that this craft is incredibly forgiving and, honestly, a bit addictive!
Today, I’m walking you through every single step of making your first coaster. We’re going to turn that ball of yarn into something pofuduk (fluffy) and beautiful.
You’ve got this. Let’s go! 🧵
BEFORE YOU BEGIN
Make sure you have your “happy corner” set up. I like to have a cup of coffee nearby and some good music playing.
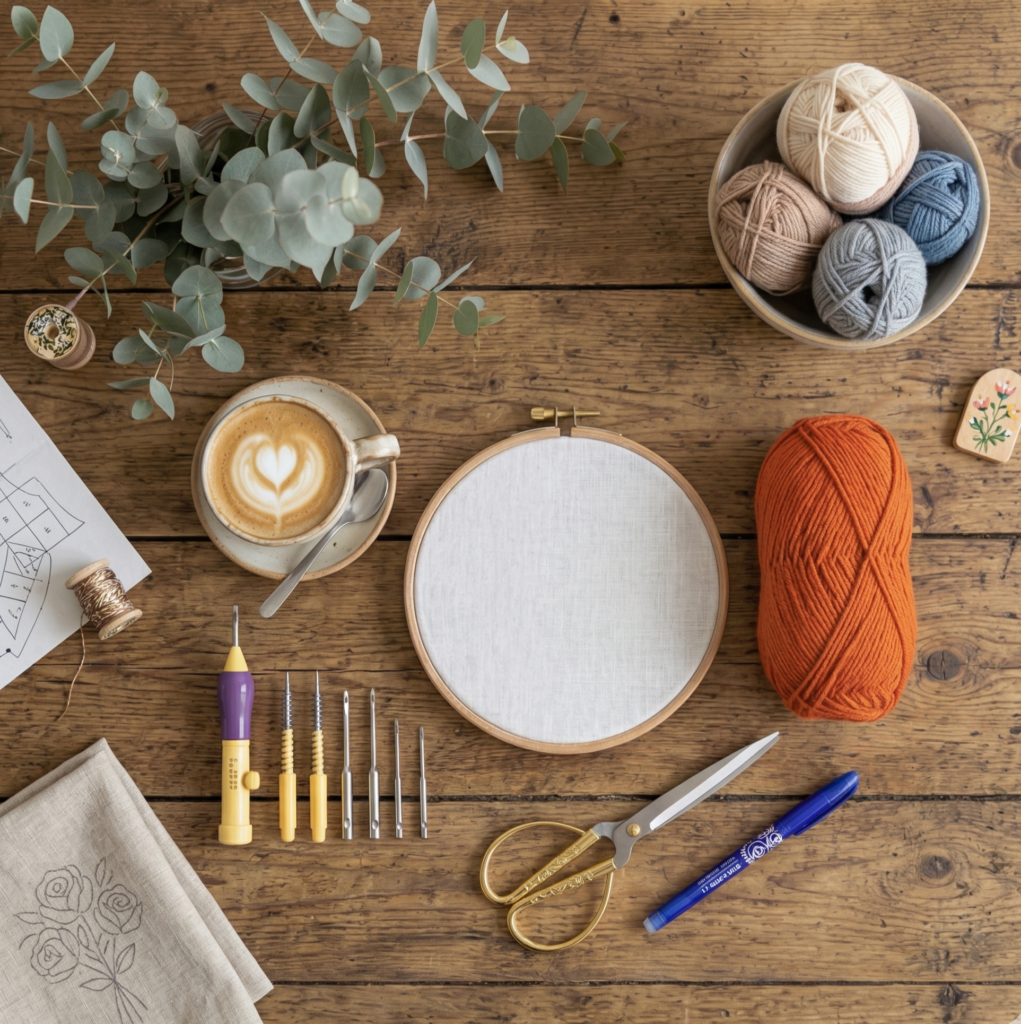
Here is what you need:
- Your printed pattern (Download the free pattern here!)
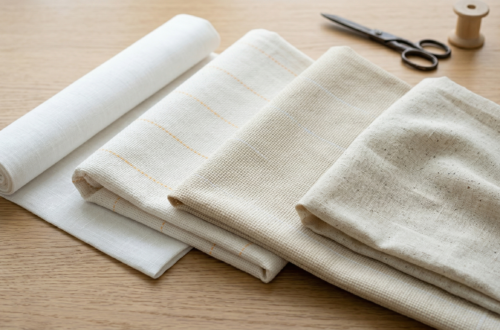
- Monk’s cloth mounted in your embroidery hoop
- Your punch needle tool, threaded and ready
- Yarn in your favorite colors
- Scissors and a fabric marker
STEP 1 — TRACE YOUR PATTERN ONTO THE FABRIC
Print your pattern at 100% scale. Place it under your monk’s cloth and trace it.
Sibel’s Tip: If you’re struggling to see the lines, tape your pattern to a sunny window and hold your hoop against it. The natural light makes it act like a light box!
Important: We are drawing on the BACK of the fabric. This is the “working side.” The beautiful, loopy texture will grow on the other side.
STEP 2 — MOUNT YOUR FABRIC (DRUM TIGHT!)
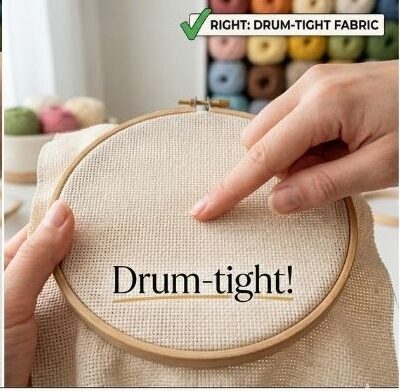
Place your fabric in the hoop and tighten the screw. Now, pull the edges of the fabric until it’s drum-tight. When you tap it with your finger, it should literally sound like a little drum.
My Experience: In the beginning, I didn’t tighten my fabric enough, and my loops kept falling out. Trust me—the tighter the fabric, the easier the punch!
STEP 3 — THREAD YOUR PUNCH NEEDLE
If threading feels like a puzzle, don’t worry. Use the wire threading tool that came with your needle. Feed it through the tip, hook your yarn, and pull it back through.
Make sure the yarn flows freely. If it’s even a little bit stuck, your loops won’t stay in the fabric.
STEP 4 — THE “STAY LOW” TEST PUNCH
Before diving into your design, try a few stitches on a scrap piece of monk’s cloth. This is where you get to know your needle! Push the needle straight down all the way until the handle touches the fabric.
The Golden Rule: When you lift the needle back up, never lift it more than a few millimeters off the surface. If you lift it too high, you’ll pull your loop right back out, and that can be so frustrating! Keep the tip “skimming” the fabric like a little bee as you move to the next stitch.
💡 Troubleshooting? If your loops aren’t staying in place or look a bit wonky, don’t worry—we’ve all been there! Check out my guide on 5 Common Punch Needle Mistakes Every Beginner Makes to fix it in seconds before you move on to Step 5.
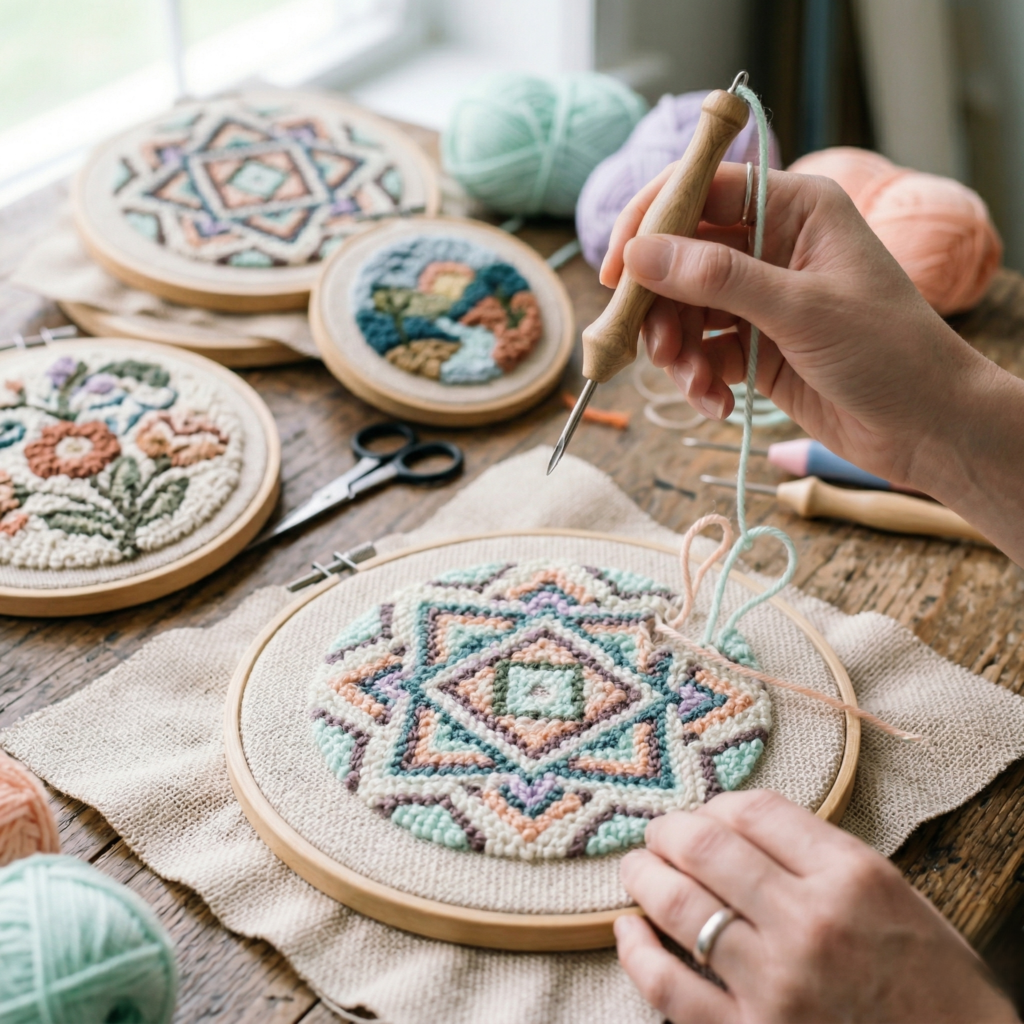
STEP 5 — START PUNCHING THE MAGIC
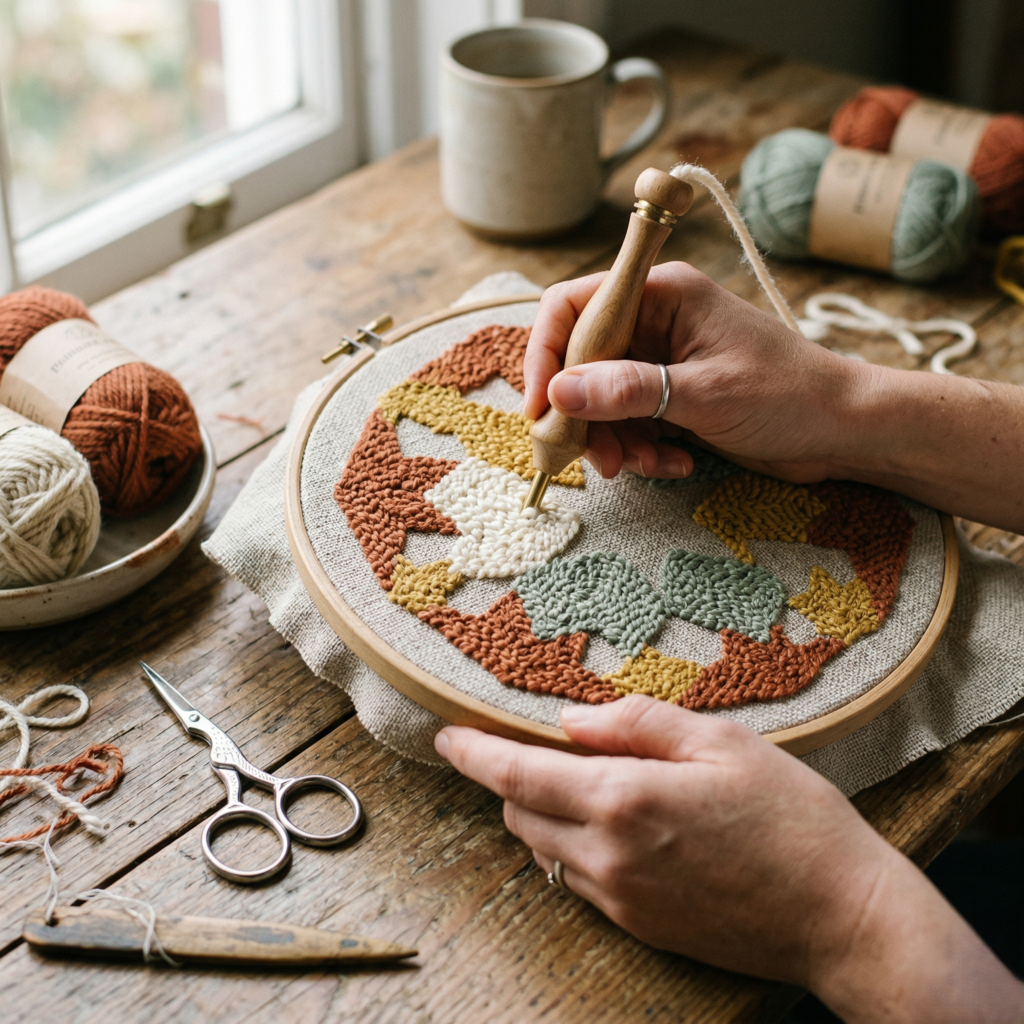
Now for the satisfying part! I always suggest starting with the outline of a color section and then filling it in toward the center.
- Spacing: Aim for about 2–3 punches per centimeter.
- Rhythm: Push down, lift slightly, slide, push down.
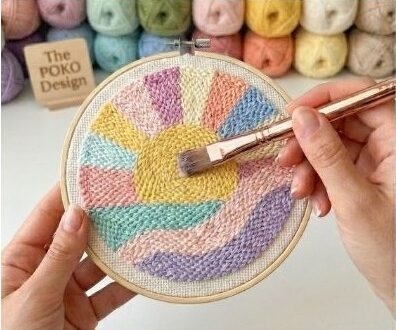
STEP 6 — THE REVEAL (CHECK YOUR LOOPS)
The best feeling in the world is flipping your hoop over for the first time. Seeing those plump, colorful loops appear is pure magic! If you see a “bald” spot, don’t panic. Just flip it back over and add a few more stitches in that area.
Sibel’s Note: There are no mistakes in punch needle—only “extra character.” You can always pull the yarn out and redo any part you don’t like!
STEP 7 — TIDYING UP THE BACK

Once you’re finished, you’ll have some “tails” of yarn sticking out on the back. Take your scissors and snip them so they are flush with the fabric.
STEP 8 — SECURE AND FINISH
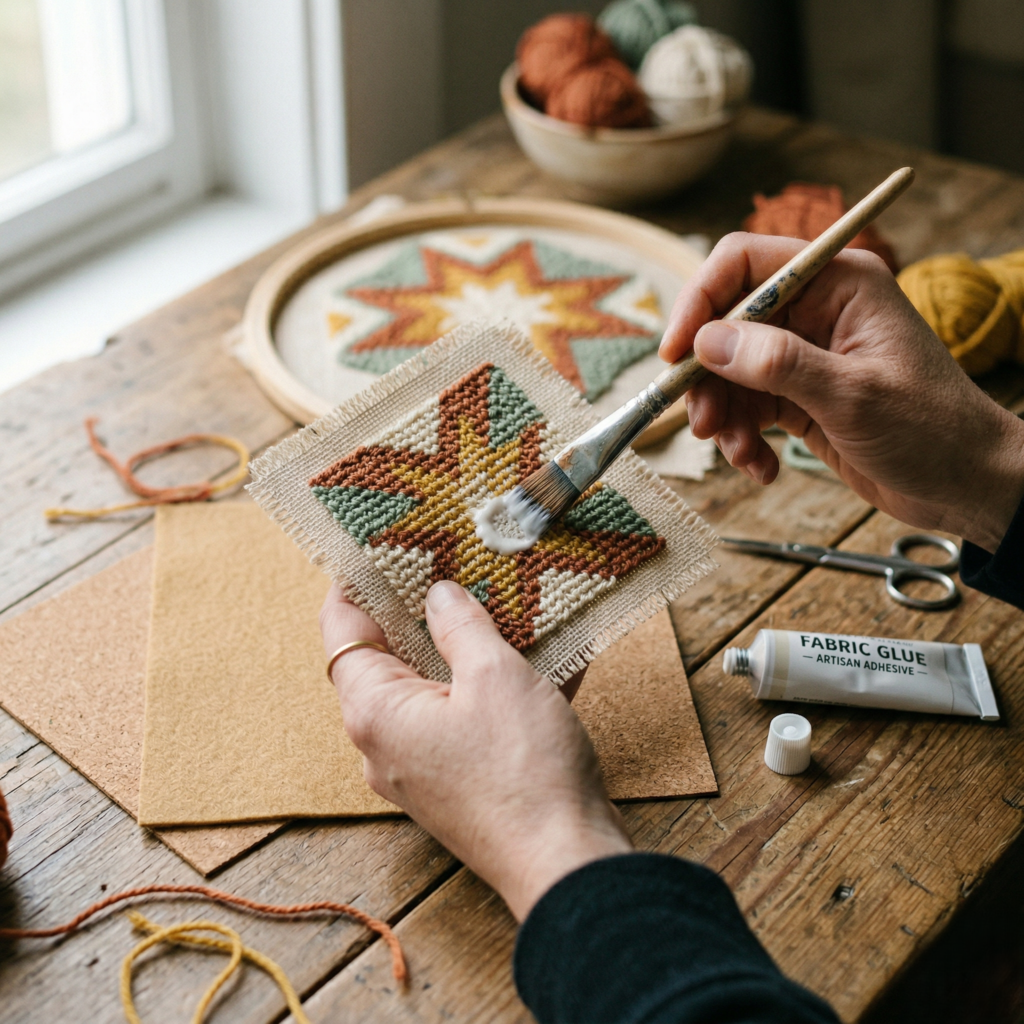
Because a coaster lives a hard life (hot coffee, cold drinks!), I highly recommend gluing the back. Apply a thin layer of fabric glue or PVA glue over the stitches.
Once dry, cut the excess fabric (leave about 2cm), fold it over, and glue it down. For a professional look, I love gluing a piece of felt or cork to the bottom. It makes it feel so sturdy and high-quality!
YOU DID IT! 🎉
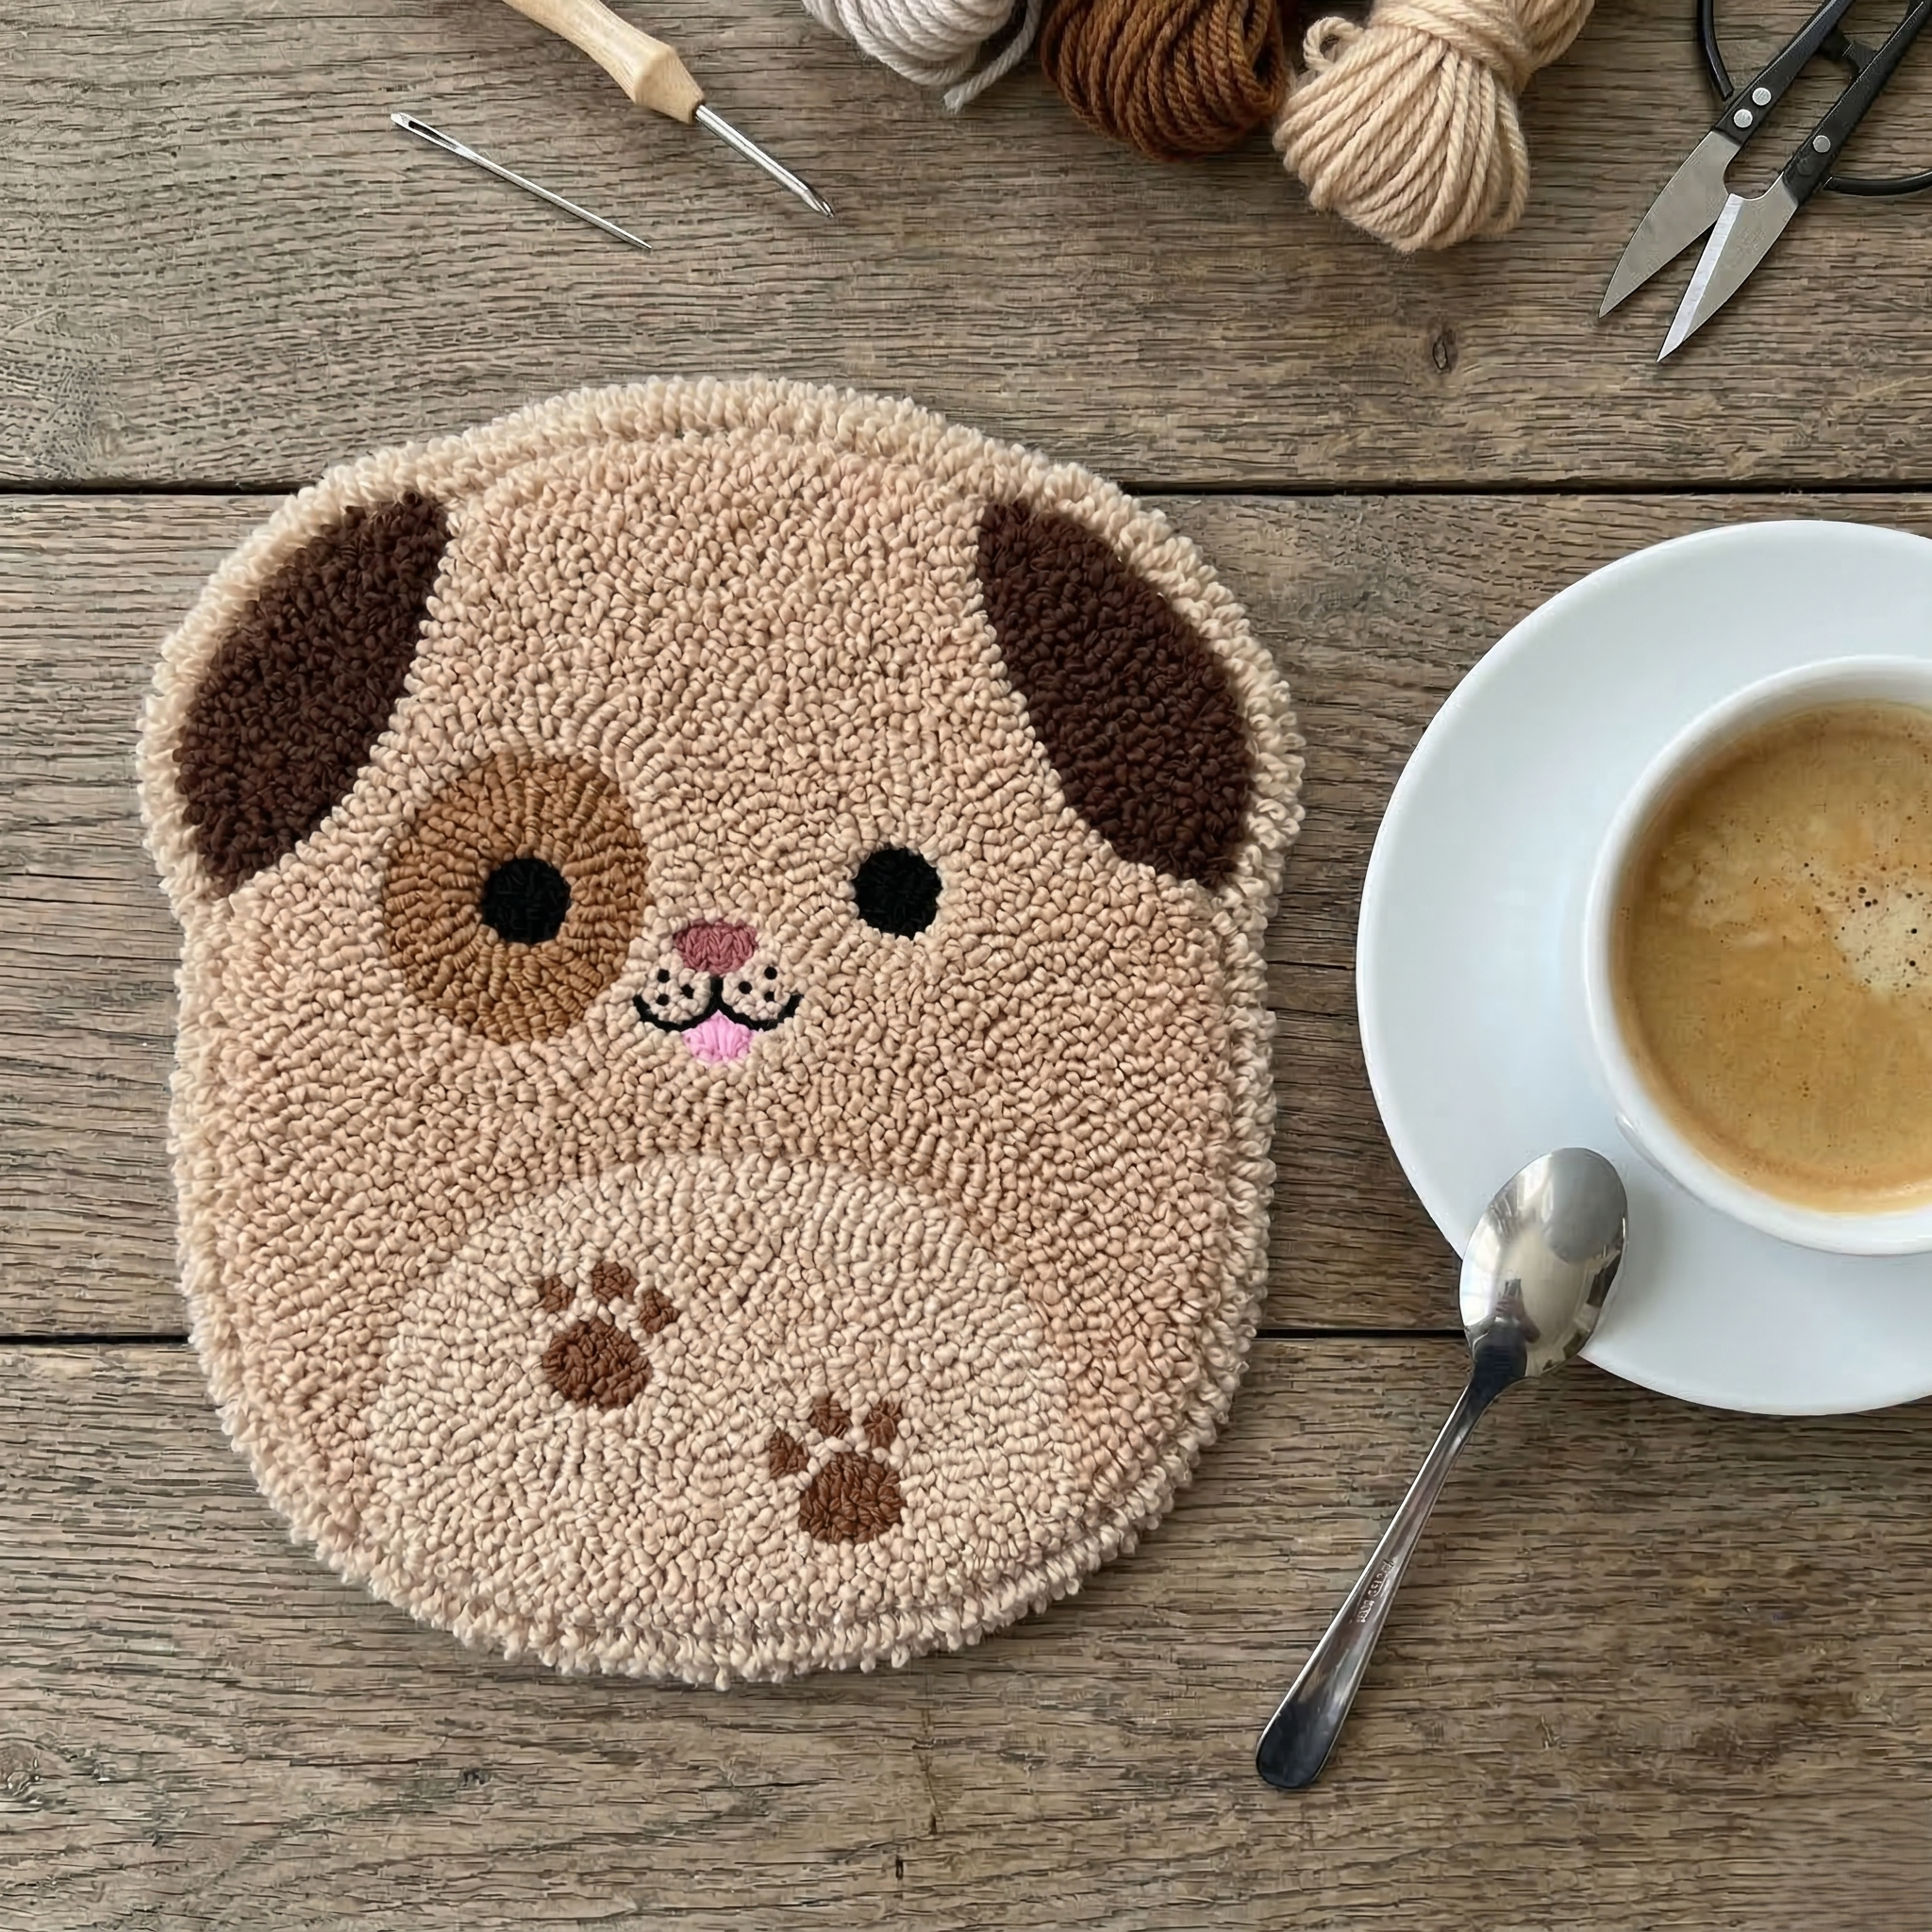
Take a look at what you just created. It’s not just a coaster; it’s a piece of art you made with your own hands.
If you’re ready to try a new shape or a bigger project, come say hi at The Poko Design on Etsy. I have so many digital patterns—from cute animals to modern florals—that are perfect for your next afternoon project.
Tag me on Instagram @thepokodesign so I can see your beautiful work. I can’t wait to see your “pofuduk” creations!
Happy punching! — Sibel


You May Also Like
Punch Needle Fabrics: The Best 4 Options for Your Projects

🧶 DIY Punch Needle Keychain: The Ultimate Step-by-Step Guide