🧶 DIY Punch Needle Keychain: The Ultimate Step-by-Step Guide
There’s something incredibly addictive about making small things. You start with a tiny scrap of fabric, and an hour later, you’re holding a squishy, textured little treasure that you can actually use. That’s the magic of punch needle keychains. They are the “potato chips” of the craft world—you can’t just make one!
Whether you’re looking to clear out your yarn stash or you’re a beginner wanting a quick win, keychains are the perfect weekend project. Plus, they make the sweetest personalized gifts (Mother’s Day is right around the corner, just saying! 🌸).
In this guide, I’m walking you through everything from the best needle sizes to my two favorite ways to finish the back. Let’s get punchy!
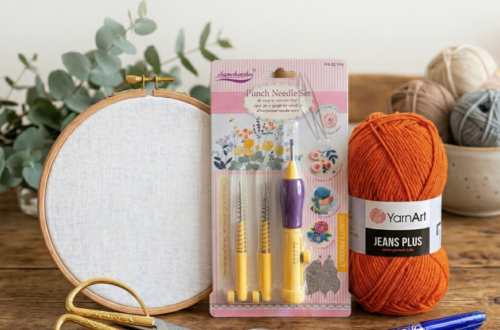
🛒 What You’ll Need
- Fabric: Monk’s cloth or a dedicated punch needle fabric.
- Punch Needle: A fine tip (size 1-2) works best for small details.
- Hoop: A small embroidery hoop (4-6 inches).
- Yarn: Tapestry yarn or embroidery floss for a delicate look.
- Pattern: Your favorite design (you can find my digital templates on Etsy!).
- The Finishing Touches: Fabric glue, felt (for backing), and a keychain ring with a lobster clasp or chain.
- Optional: Pom-poms or ribbons for that extra “Poko” flair.
📐 Step 1: Transfer Your Design
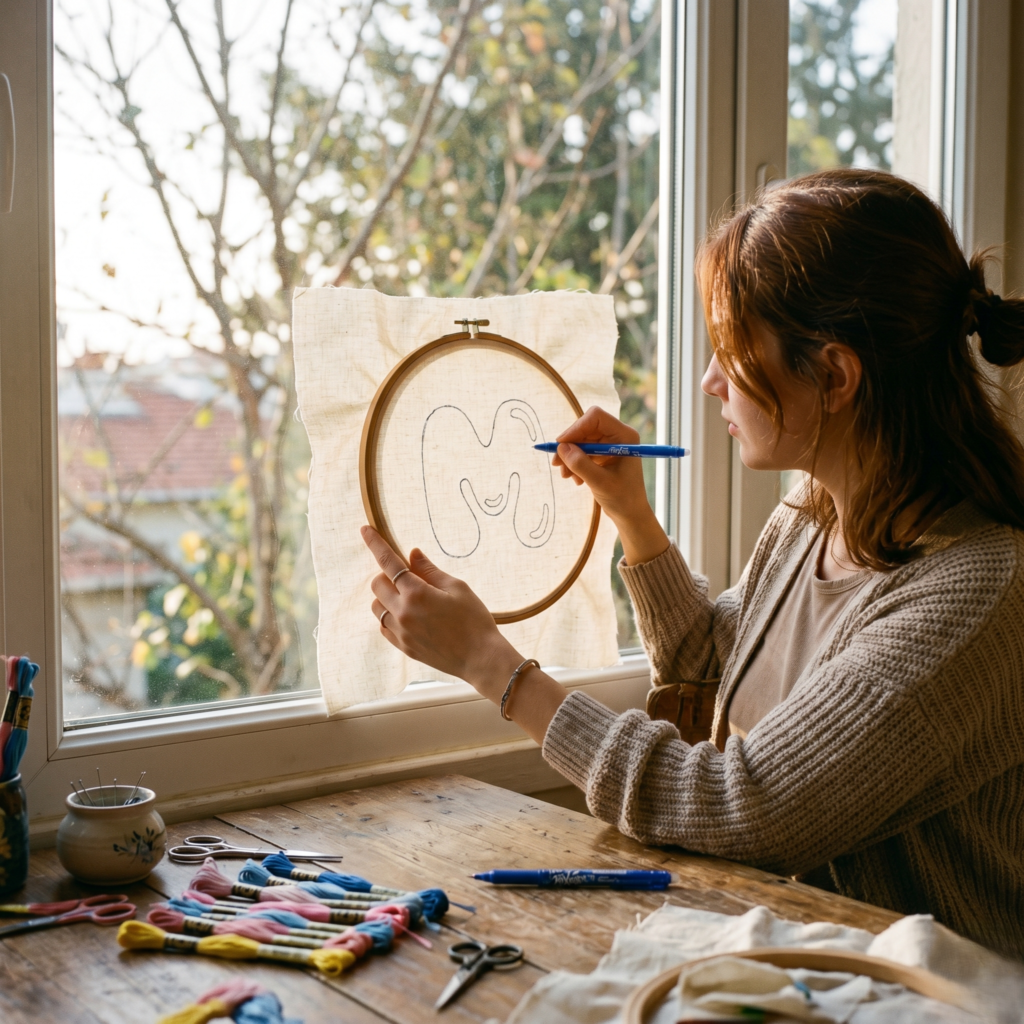
Trace your pattern onto the fabric using a light box or a sunny window. I love using a heat-erasable pen—once you’re done, a quick hit with a hairdryer and the marks vanish like magic.
Give yourself space: Leave at least 2 inches of extra fabric around your design. It makes it so much easier to hoop and even easier to trim later.
🪡 Step 2: Let’s Punch!
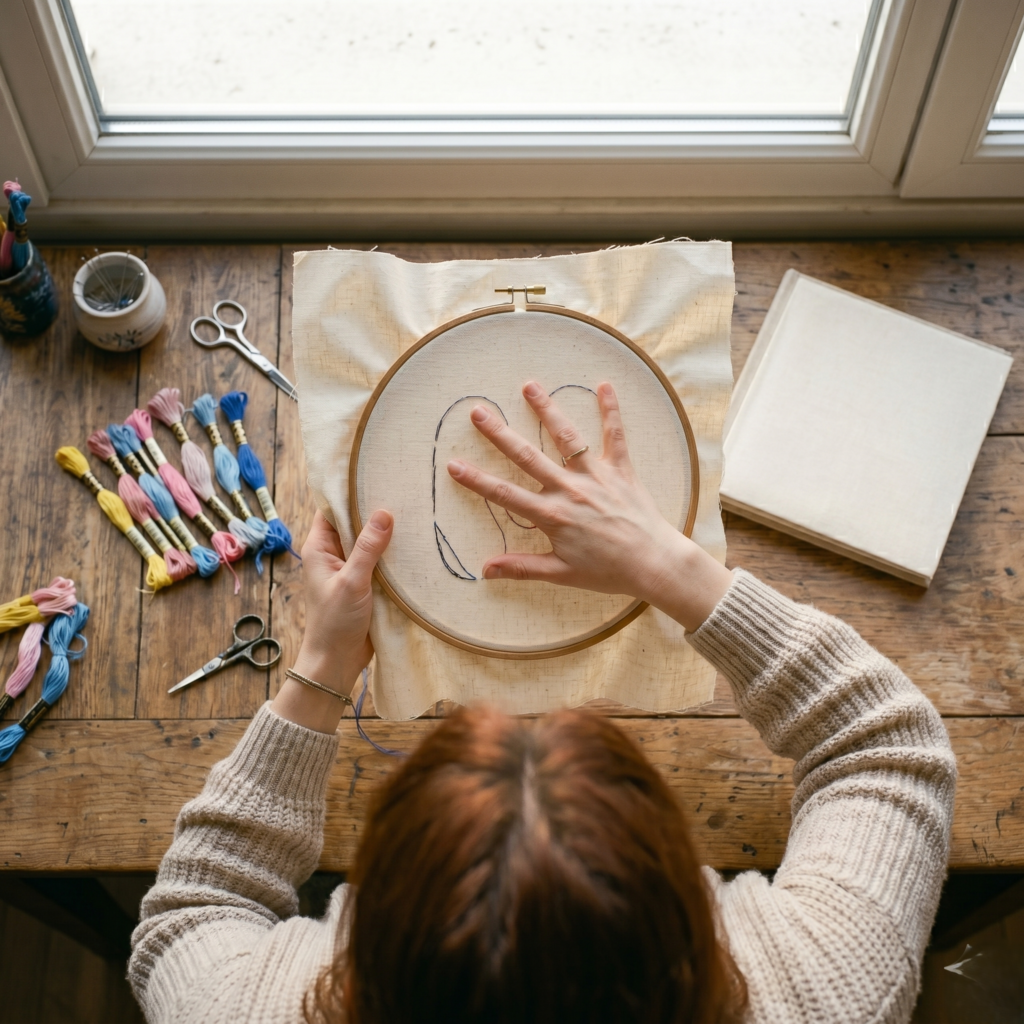
Tighten your fabric in the hoop until it sounds like a drum. Thread your needle and start with the outlines first. This “frames” your work and keeps the shape steady as you fill it in.
Remember, you’re working from the back! Keep your needle vertical and stay close to the fabric surface. It’s like drawing with thread—it’s meditative, a bit rhythmic, and honestly, the best way to decompress after a long day.
✂️ Step 3: Trim and Prep
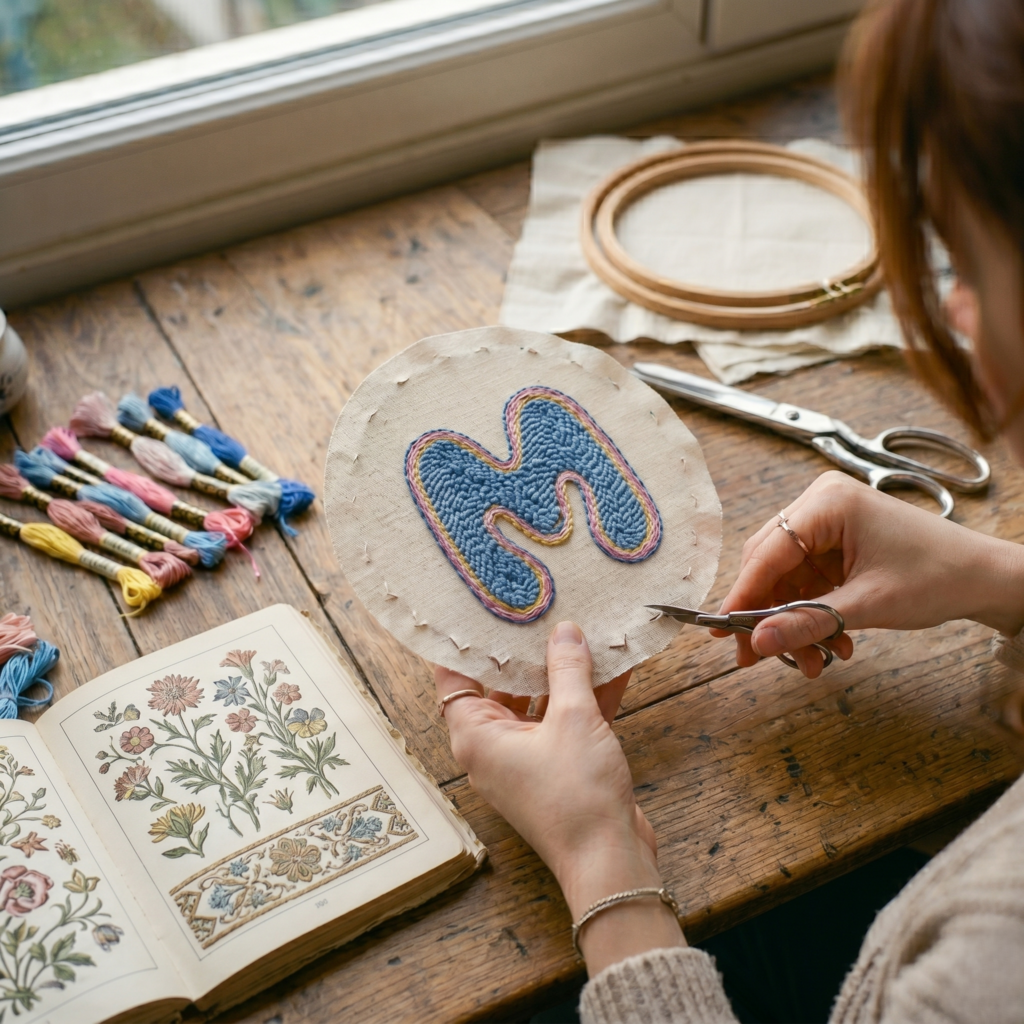
Once finished, take it out of the hoop. Trim the excess fabric, leaving about half an inch around the edges. If your shape is curvy (like a heart or a flower), make tiny snips in the seam allowance so it folds back smoothly without bunching up.
🟢 Method A: The Clean Felt Back (Single-Sided)
This is the fastest, “no-fuss” method and it’s perfect for keeping your keychain lightweight and sleek.
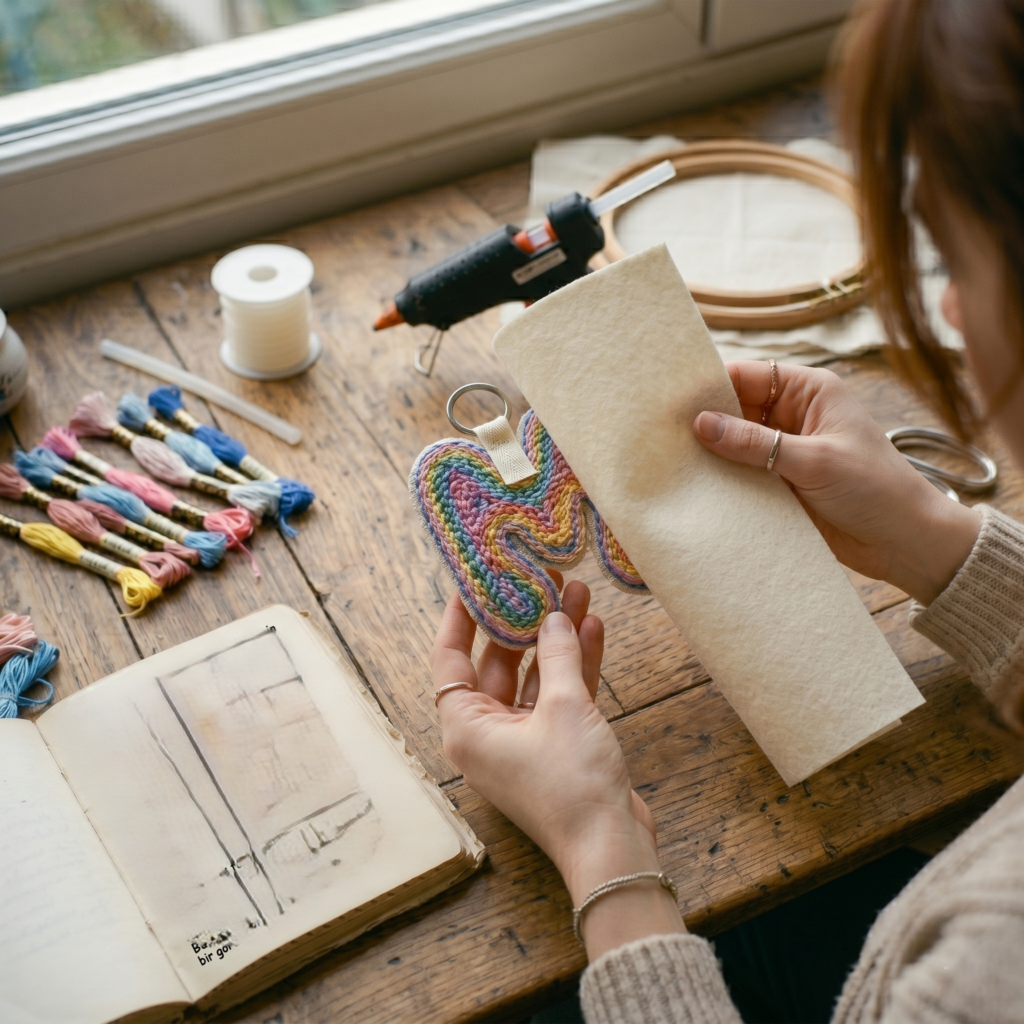
- Fold and Secure: Fold your excess fabric edges to the back and glue them down with a bit of hot glue.
- The Ribbon Trick: Take your keychain ring, loop it through a small piece of ribbon, and glue the ends of that ribbon directly onto the back of your punch piece.
- The Felt Finish: Instead of pre-cutting a shape, take a large piece of felt and glue it directly onto the back of your project.
- The Precision Cut: Once the glue is set, grab your sharp scissors and carefully trim the excess felt following the shape of your punch work.
- The Magic Touch: To hide any gaps, add a tiny bit of hot glue between the edge of the felt and the yarn loops, then press them together. This creates a seamless, “high-end” look where no fabric shows!
🔵 Method B: The “Squishy” Double-Sided Look
Want your keychain to look amazing from every angle? This method gives you a chunky, professional result without ever picking up a sewing needle.
- The Symmetry Secret: You’ll need to punch your design twice, but here’s the catch: the second one must be a mirror image (symmetrical) of the first. This ensures that when you put their backs together, the shapes align perfectly!
- Double the Texture: Because the loops on both sides already add so much volume, you don’t even need stuffing! The yarn itself gives it that satisfying, “squishy” feel.
- The Attachment: Just like Method A, loop your keychain ring through a ribbon and glue it to the back of one of your pieces.
- Seal the Deal: Apply hot glue around the edges and press the two pieces together, back-to-back.
- Why I love it: It feels substantial in your hand and looks like something you’d find in a boutique gift shop. It’s double the work, but trust me, the “wow” factor is double too!
🔗 Step 4: The Final Flourish
Attach your keychain ring. I personally love adding a tiny pom-pom or a colorful tassel. It adds movement and makes the whole piece feel like a boutique find rather than just a DIY project.
🎁 Need Some Inspiration?
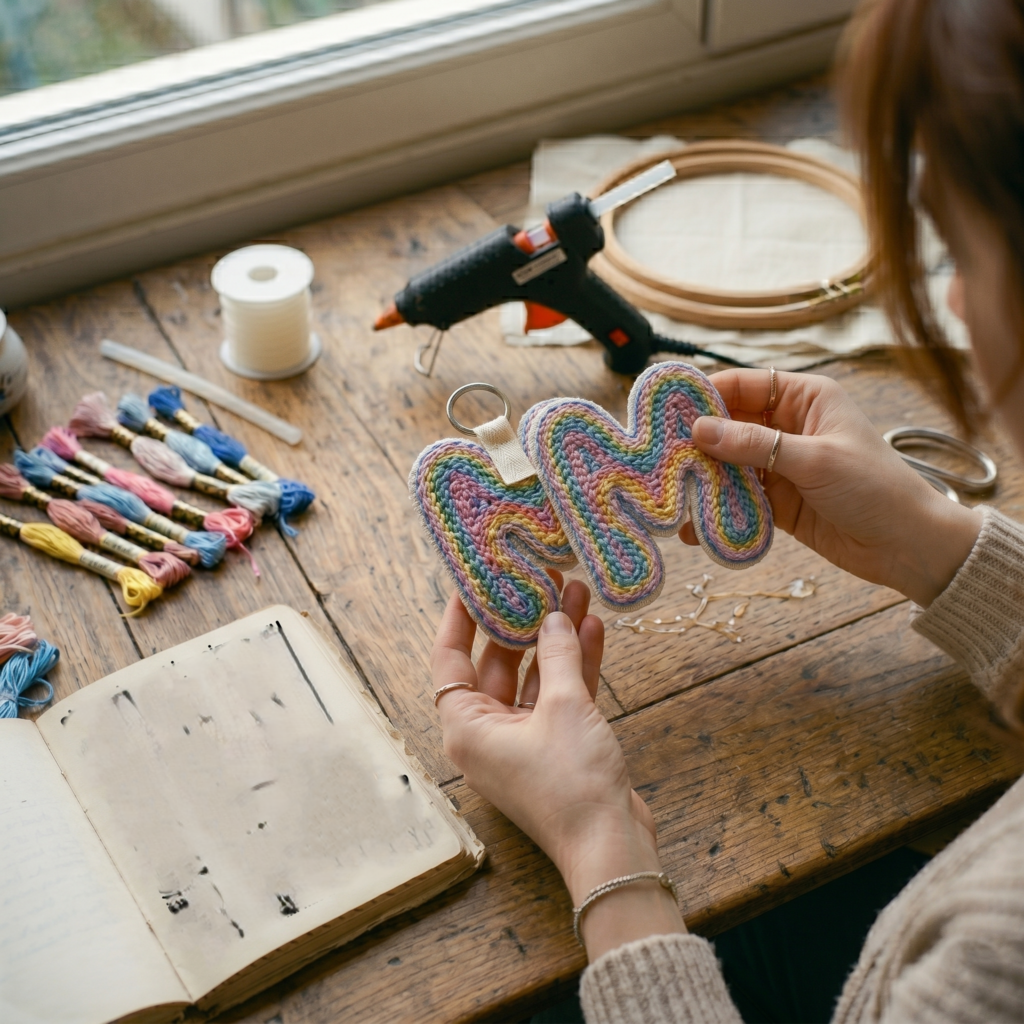
- The Personal Touch: A simple letter keychain is the most thoughtful birthday gift. Check out my Punch Needle Alphabet Pattern if you need the perfect font!
- Kawaii Vibes: Mushrooms, cacti, and little bees are huge right now. They look adorable hanging from a backpack zipper.
- Bag Charms: Who says they are only for keys? I use mine as “zipper pulls” on my laptop sleeve and it makes me smile every time I open it.
Ready to start? Head over to my Etsy shop, The Poko Design, to grab a digital template and let’s get making! 🧶✨


You May Also Like

✨Punch Needle Mistakes: 5 Common Errors Beginners Make & How to Fix Them 🧶✨
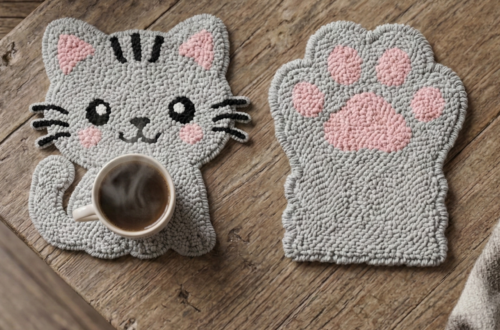
How to Make a Punch Needle Coaster: Step-by-Step for Beginners